DW Store: Menu Configuration
DW Store supports custom WordPress menus with 2 locations: Main menu and Secondary menu. Once the menu is created and assigned the location, it will show up on the site along with the proper location.
Main Menu: This menu will show in the Header.
Secondary Menu: Once assigned the menu to this location, the menu will show up on the topbar area.
Step 1 Navigate to Dashboard >> Appearance >> Menus
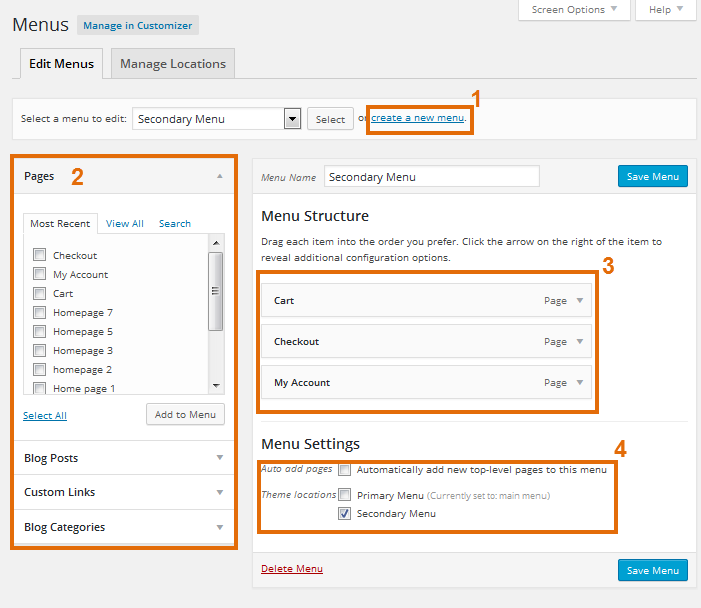
Step 2 Hit the Create A New Menu link to make a new menu. Enter the name then press the Create Menu button.
Step 3 To add a menu item, select one of your created pages, categories on the left hand side and click the Add to Menu button.
Step 4 For a custom menu item, enter a custom name and link into the Links box.
Step 5 Arrange your menus by using the drag and drop menu items.
Step 6 After setting up your menu, scroll down to the bottom of the page to assign the menu to one of the 2 locations in the Theme Locations box.
Step 7 Once its all done, make sure you click the Save button.
Frontend of the Primary menu

Front-end of the secondary menu
