DW Jason: Font Selector
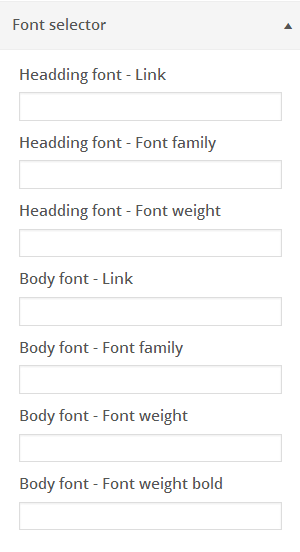
Located in Appearance >> Customize >> Font Selector.
Here’s what it looks like in back-end:
First, you need to go to Google Font Library to find web font you like. After finding, head over “quick-use” button.
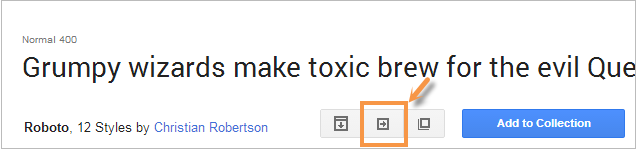
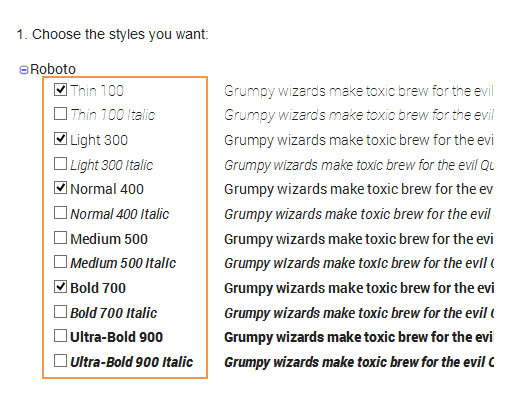
Once you clicked quick-use button,you will choose styles as you want.
Next, scroll down till you see the pane titled “Add this code to your website” as followings:
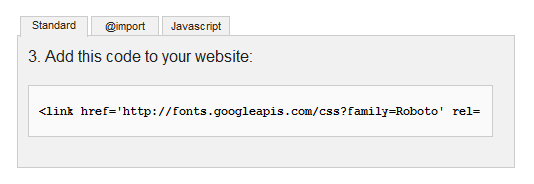
You can see that there are 3 tabs ” Standard”, “@import”, “Javascript”, however, you only use the first tab “Standard” for your site.
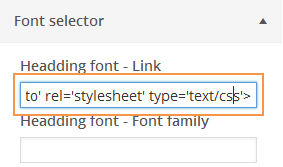
Just copy the code above, then go to Appearance >> Customize >> Font Selector, paste the code into the Heading Font – Link section:
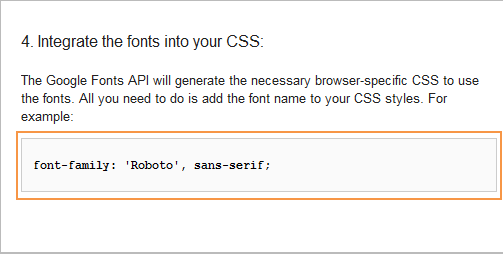
Once done that, the next thing you need to do is to integrate the fonts into your CSS. Navigate to Google Font Library, scroll down, copy the code like this:
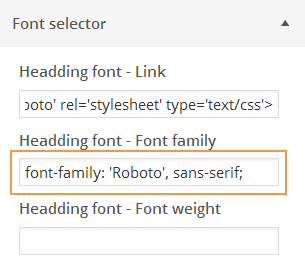
Then back to Customize >> Font Selector, paste the code you copied above into Heading Font – Font Family:
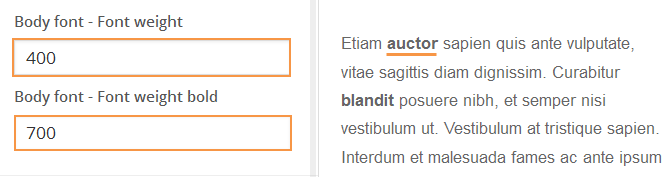
Font-weight allows you to define how thick and thin characters in text should be presented in front-end.
The font-weight will be based on styles you chose above.
In the screenshot above, 400 is the same as normal and 700 is the same as bold.
To have Body Font, just follow the steps above for Heading font.