DW Timeline Pro: Post Formats
By using the Post Formats, you can specify the presentation of the post. Here’s a list of all the post formats that are available in the DW Timeline Pro theme:
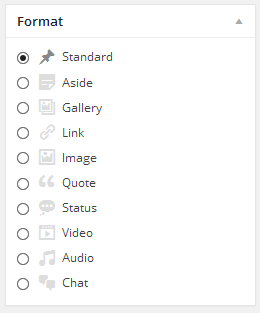
Go to Admin Panel >> Posts >> Add New, then navigate to the Format pane on the right hand side to select the post formats as you want to display.
- Standard – This is the default styling for the theme.
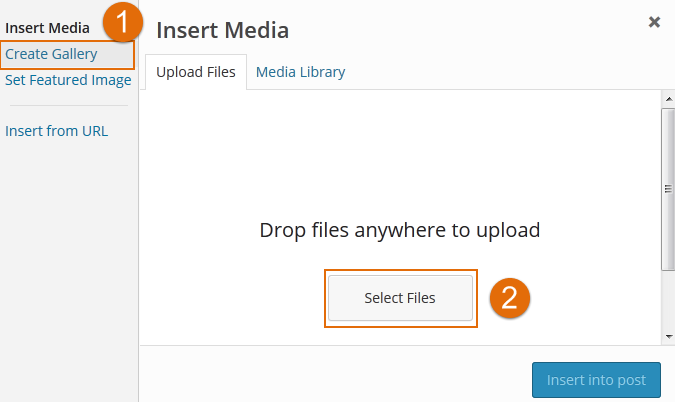
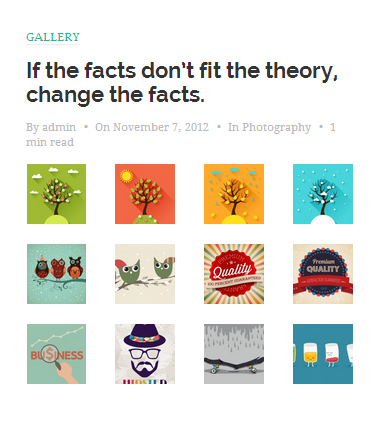
- Gallery – Multiple images. An image gallery can be inserted using the Add Media button and then clicking on “Create Gallery” tab. After selecting the images, click on “Insert Gallery” button to insert the gallery to the post. Make sure that you select post format as Gallery.
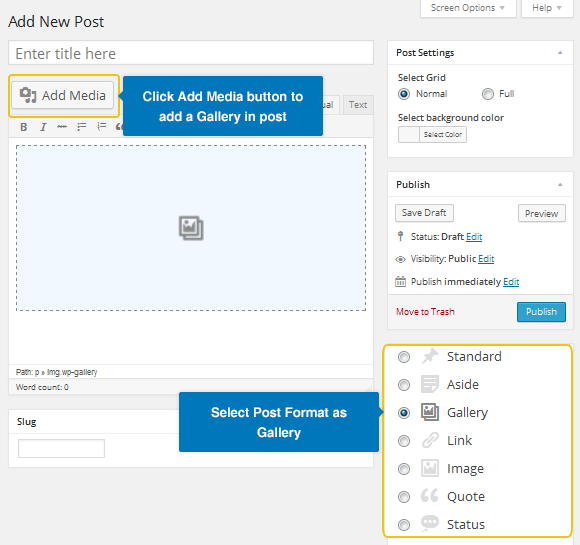
Please note that after clicking on Add Media button, you will see an window shown. To have the images gallery, you choose Create Gallery, then select the images you want to display and press ” Insert into Post”.
In case that you want to replicate the images gallery created before, just click on the gallery inside the post, an pen icon will be shown, select it to start editing, deleting or anything according to your taste:
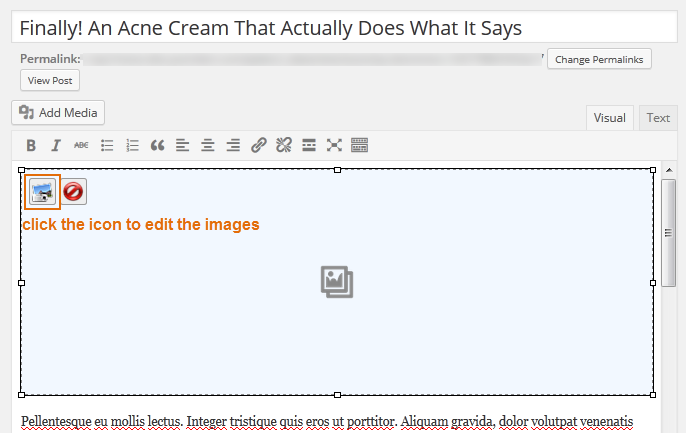
Of course, you can totally delete the previous images and upload new ones.
This is how it should look like in front-end:
- Aside – Typically styled without a title.
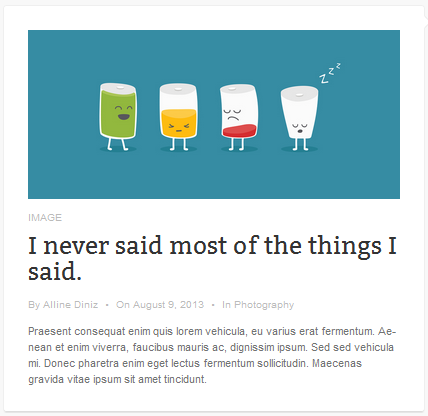
- Image — A single image. Just insert images into your post, then select Post Format as Image before clicking the “Publish” button.
This is how it should like in front-end:
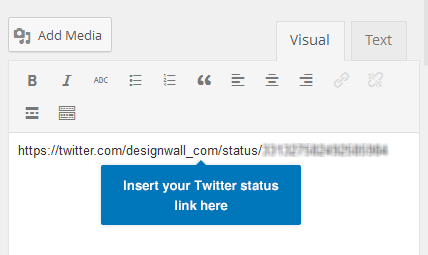
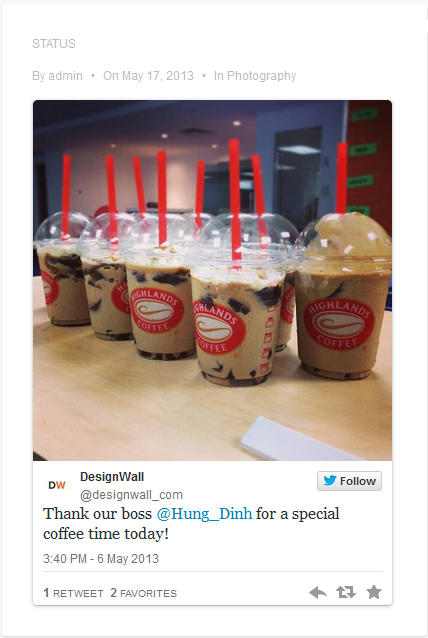
- Status — A short status update. You can embed your Twitter status by inserting your Twitter link into editor area, then select Post Format as Status under Format pane on right hand side.
This is how it should look like in front-end:
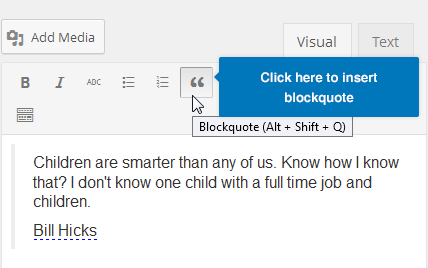
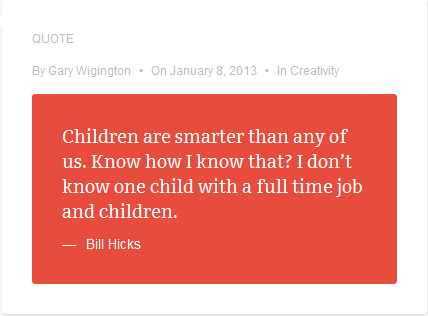
- Quote — These posts highlight your blockquoted text in a bolder way than standard posts.
To display your quote format properly, click on “block quote” button on the toolbar, then select the post format as Quote.
Here is front-end appearance
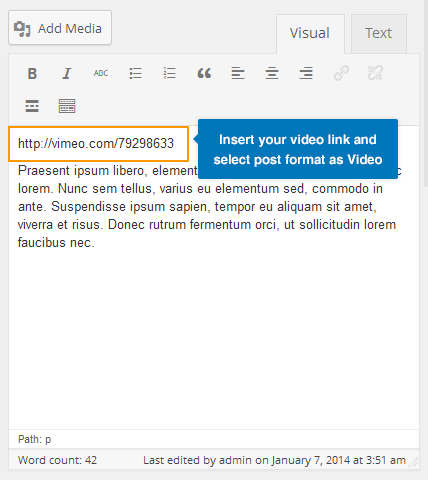
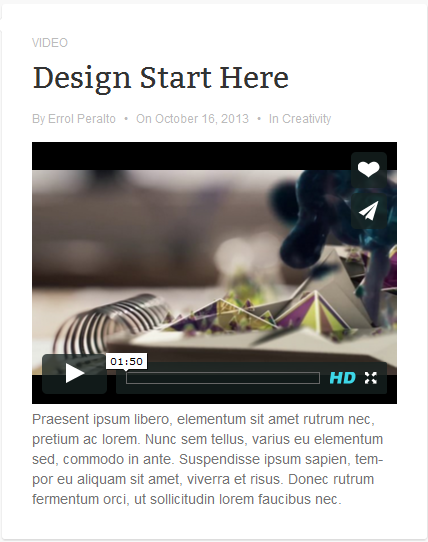
- Video — these posts highlight your videos
Just embed your video links into the editor area, select the Post Format as Video and hit the Publish button.
Here is what it looks like in front-end:
- Audio — An audio file
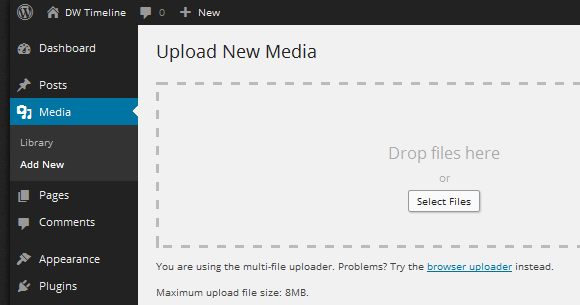
To insert an audio file into your post, you need to add an audio file to media by clicking on Media >>Add New, then upload your audio files.
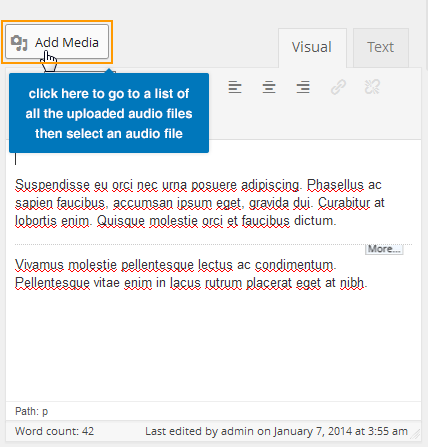
Then go to Posts >> Add New, click on “Add Media” button and add your audio file to your post. After that, select the post format as Audio.
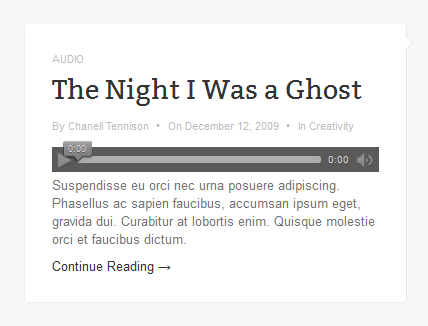
This is front-end appearance:
- Chat – These posts highlight snippets of memorable conversations you have with friends, both online and offline.
- Link –A link to another site.
