DW Wall: Jigoshop

Jigoshop is a third party WordPress Ecommerce plugin. If you are new to this plugin, please read the full Jigshop user guide here. After installing and activating the plugin successfully, you can configure Jigoshop plugin to meet your requirements and needs for your online shop.
1. General Configuration

2. Product Category Configuration
To create a new product category: Go to the backend panel of Jigoshop plugin >> Go to the categories section and add a new product category on the top left corner.

3. Product Configuration
When you create new products, remember to assign them into categories so that all the products can be displayed properly in the front-end. Categorizing products will also help you to organize and manage your products for quicker sorting, filtering and searching.
To create a new product, access the products section in the back-end of the plugin then click on the “Add New” button.

Front-end Appearance

4. Jigoshop Widgets Configuration
The Jigoshop plugin comes with a number of widgets, styled and located in the left sidebar. The widgets will be displayed on the shop page only.
Go to Appearance -> Widgets -> drag widgets to Sidebar Shop on the right side to enable the shop widgets.

4.1. Product categories Widget
Add the widget title and click the Save button to display your product categories on the sidebar like shown in the demo.

4.2 Account
Create an Account widget : Go to Appearance -> Menu and create new a menu with the name “Account”.

Assign the pages which you want to display on the Account widget and save the menu settings.

Then, go to Appearance -> Widgets -> drag the Custom menu widget to Sidebar shop and save the widget Account menu -> Save widget

This is how the account sidebar menu should look like in the front-end.

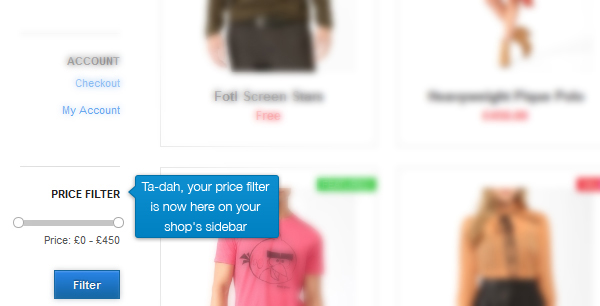
4.3 Price Filter
To add the price filter, drag Price Filter widget to the sidebar shop and add the title. Click on the Save button to display the price filter slider in the sidebar.

Here you see the price filter in action in the front-end.