DW Brickstore: Homepage Layout 3
Homepage layout 3 is an other example of using the Page Builder by SiteOrigin plugin and the widgets were designed and developed by our DesignWall team. This thing lets you know that you can definitely build your own website easily and flexibly. However, please be care if you are messed up your steps and your site can be broken.
In this layout, we require you install the Revolution Slider, Page Builder by SiteOrigin plugin first.
IMPORTANT NOTE:
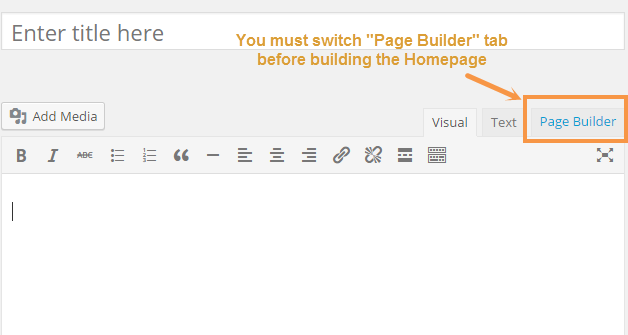
To build all homepage layouts properly like our guide, make sure that you switch your editor area into Page Builder.
Step 1 Go to Dashboard >> Pages >> Add New
Step 2 Input a title for your homepage.
Step 3 Switch Page Builder tab above the editor area
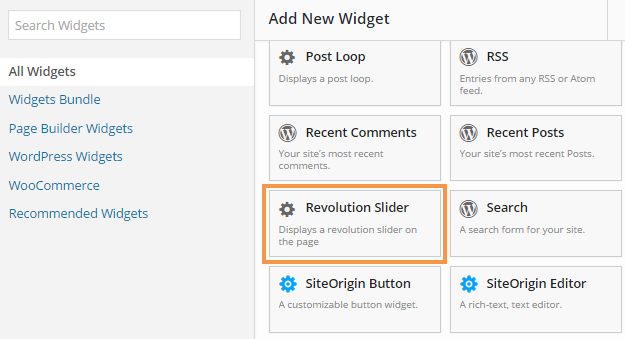
1. Revolution Sliders
Like homepage layout 1 & 2, homepage layout 3 still uses the Revolution Sliders. That’s cool way to make impression for your website.
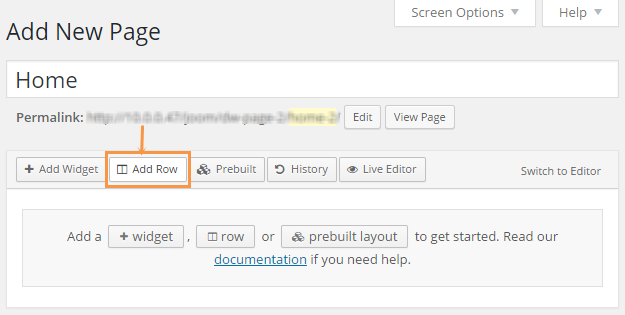
Step 1 Located Dashboard >> Pages >> Home 3
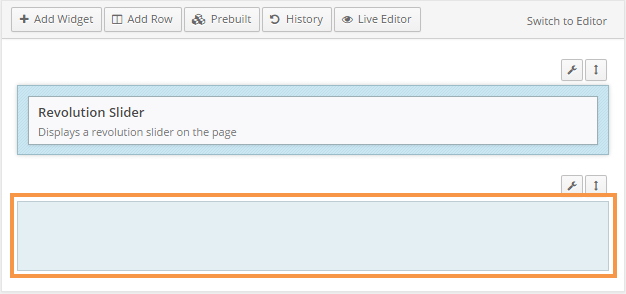
Step 2 Add a new row to the page.
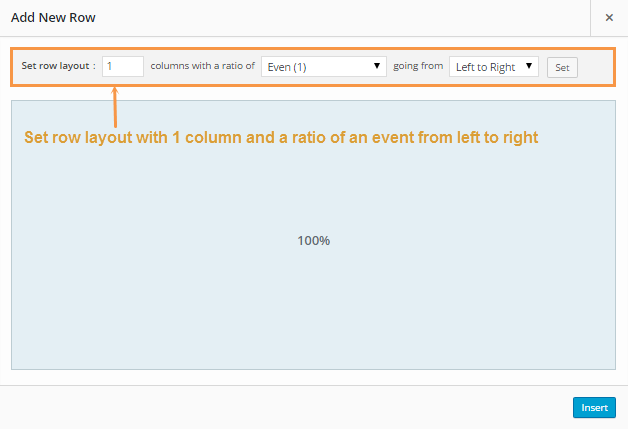
Step 3 Set the row layout
After clicking on “Add Row” button, an “Add New Row” dialog will be displayed. Selecting the number of cells in the row is 1 cell-layout with an even ratio from left to right. Press “Insert” button to finish.
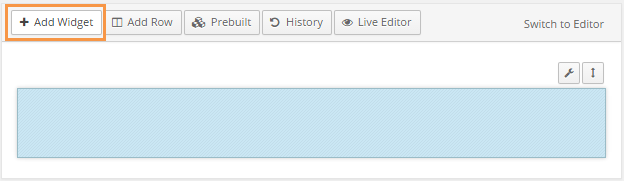
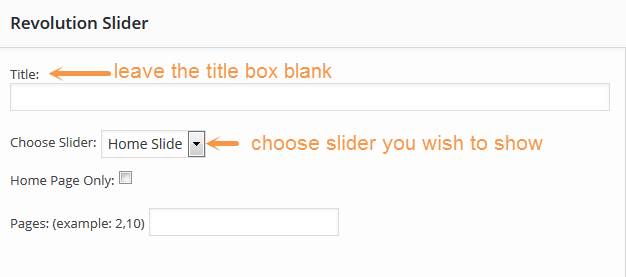
Step 4 Insert Revolution Slider widget to the row
To add a widget, first activate the row to which you wish to add the widget. Then click on “+ Add Widget.”
Look for the Revolution Slider widget and add it to the row
Once done, start configuring out according to your taste
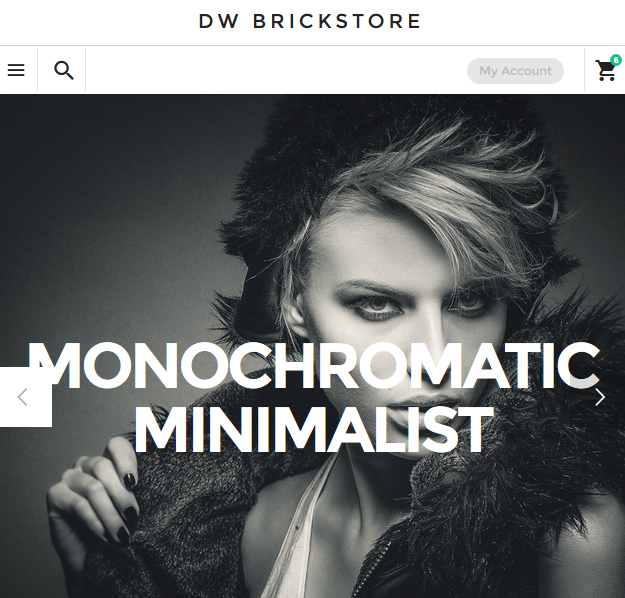
The screenshot below is the front-end of the home section:
2. WooCommerce Feature Products
To manage this section, we developed a separate widget named DW Brickstore: Woocommerce feature product widget to allow you show the Woocommerce products in new style with many flexible options to choose from. Follow our instruction below for further info.
Step 1 Located to Dashboard >> Pages >> Home 3
Step 2 Add a new row with 1 column as shown in the following screenshot
Step 3 Add DW Brickstore: Woocommerce feature product widget to the row
Step 4 After adding the DW Brickstore: Woocommerce feature product to the row, let’s start configuring it out. However, firstly, you must hover over the widget, click on “Edit” link.
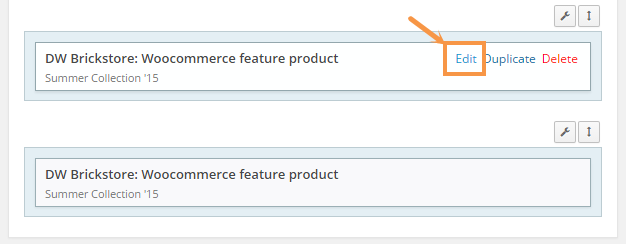
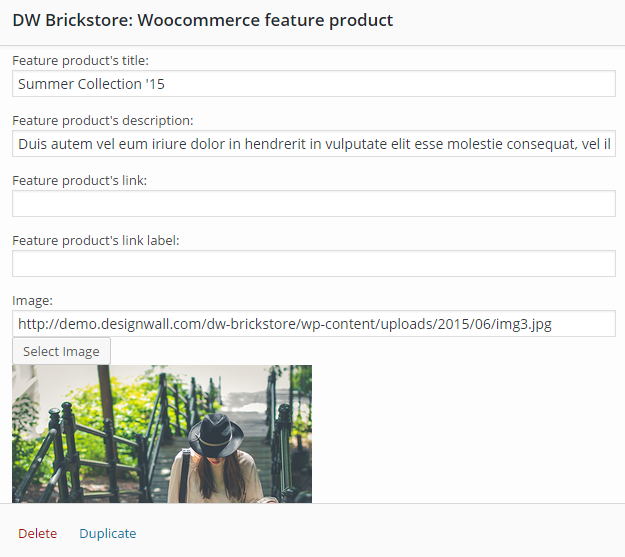
An editor area of the DW Brickstore: Woocommerce feature product widget will be shown. Just input your title, description, label, upload the image and select other options as well.
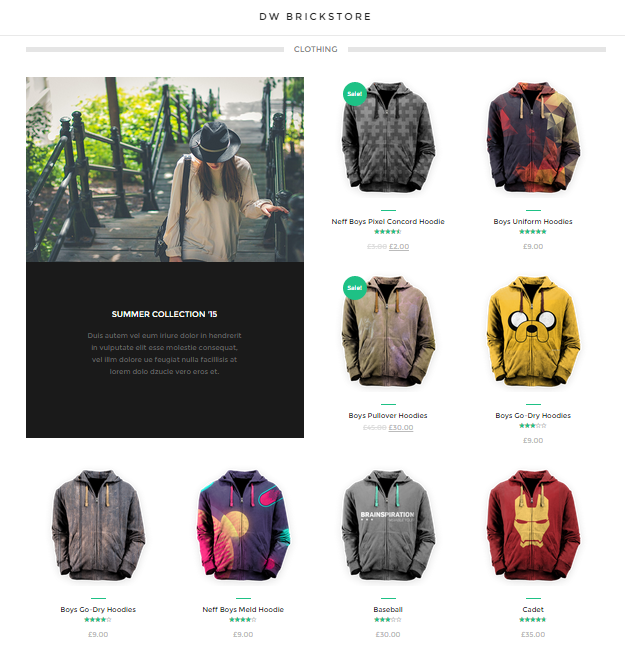
Front-end Appearance
Lookbook Page
This page lets you showcase your collection of products gallery to inspire your all customers and show how your products could fit them.
1. How to create lookbook
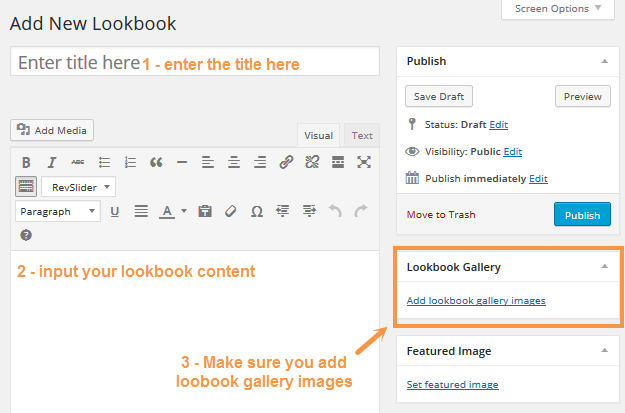
Step 1 Navigate to Dashboard>>Lookbooks >> Add New
Step 2 Create a title, and insert your lookbook content in the editing field.
Step 3 Add your gallery images by click on the link ” Add lookbook gallery images” from the right siedebar
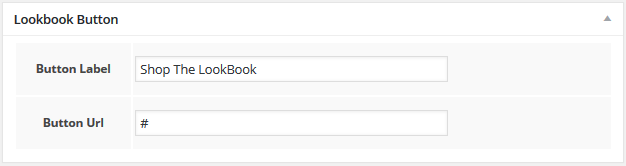
Step 4 For the lookbook button option under the editor area, insert a new title and a link as shown below:
IMPORTANT NOTE 1: The lookbook page only shows the latest lookbook you created. Not show previous lookbooks.
IMPORTANT NOTE 2: We recommend the gallery images are 1920 × 1280px in size.
2. How to show the lookbook
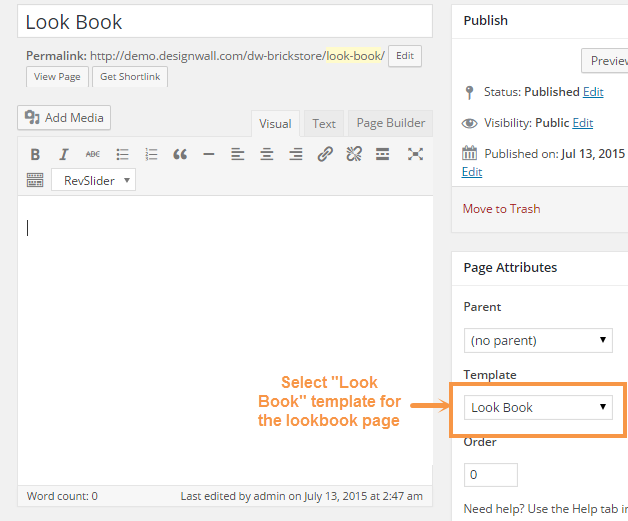
Step 1 Located to Pages >> Add New in your WordPress sidebar
Step 2 Input a new name for your page, then find the Page Attributes box on right side.
Step 3 Set your Parent page if needed.
Step 4 Select the template for the page. To show properly, make sure that you choose Look Book template for the Lookbook page
We are done. Hope you enjoy the theme.